- Soil Association
- Take action
- Grow at home
- Seed saving

Ben Raskin's guide to seed saving
The benefits of saving your own seeds is clear. They are a brilliant next step to take in your gardening journey, becoming more self-reliant and learning more about how these plants work in the process.
Our Head of Horticulture, Ben Raskin, has put together a handy guide for first-time seed savers to ensure you can continue to grow your own year in year out, by saving seeds from your current crop.
Learn more about:
- Which varieties are best, and which of your plants to select for seed saving
- How to sow your seeds and raise them to seedling stage
- And read Ben's top tips for sowing from seed.
Legal warning
To avoid breaking the law, make sure that the seed you want to save from is not protected by Plant Breeders' Rights or Patents.
The seed saving selection process:
The first thing to make sure is that the variety you are growing is open-pollinated. This means that the plants you grow from your saved seed will be the same variety as their parents. F1 hybrids can be very vigorous and productive but they will not 'come true' if you save seed.
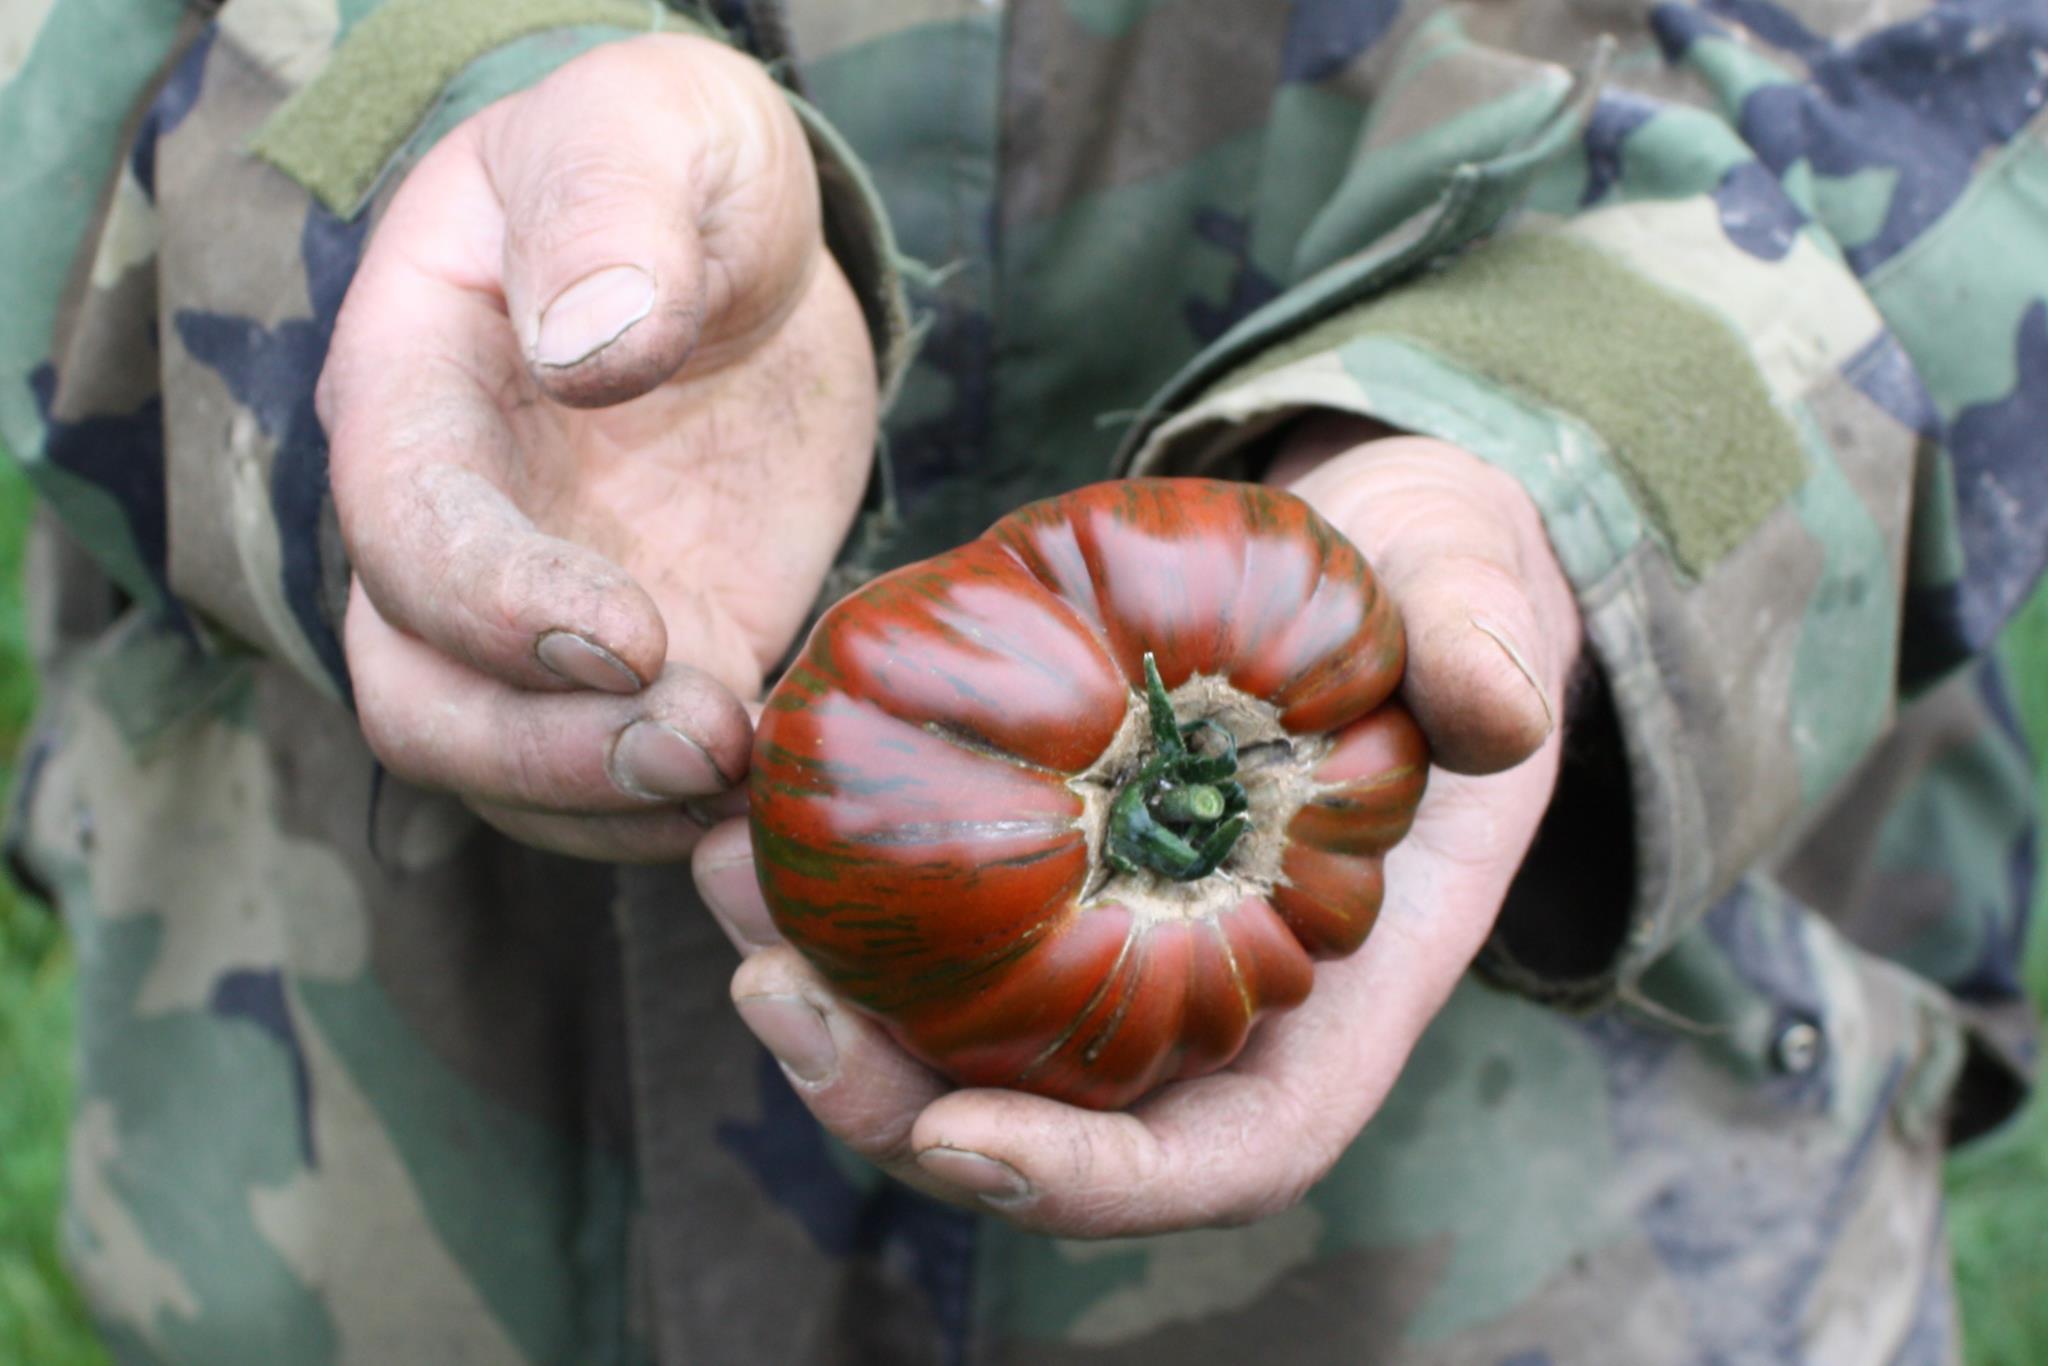
If you want an easy crop to grow, it is best to start with a crop that pollinates itself. Beans, peas, tomatoes and peppers are all self-pollinating.
Brassicas are much more difficult as they are very promiscuous. Most of the brassicas we grow cross readily with each other and even with wild plants to which they are still very closely related.
To keep brassicas true requires some form of isolation, most growers use netting to ensure that pollen from another variety does not get in.

Choose the best
The key to good seed saving is knowing what to look for in the variety and identifying the best plants to save from, so a good labelling and recording system is vital.
It can be difficult to resist temptation and not eat the best crop, but if you want to improve your genetic stock, then this is crucial!
For instance, if you were saving broad beans: would you like a tall plant or a short plant, are you looking for resistance to a particular pest or disease, do you want small or large seeds, green or white? You will need to look at the plants throughout the growing season and decide in good time which ones are the best and label them (with something that won’t wash or blow off in the remainder of the season) so that you don’t harvest those beans by mistake.

Do I have enough plants?
For really successful seed saving you need a good number of plants to save from. For some crops, such as carrots, you might want 30 or 40 plants to give a good genetic base – this is usually not a problem. But for crops where you might only grow a couple of plants, such as tomatoes, this might be an issue.
One way around this is to club together with friends and neighbours, pool together your saved seed and grow in more than one garden. This brings a social aspect to the whole project that makes it even more enjoyable.

Now you have selected your seeds, here's some top tips to help them start growing:
- Soil is the key, so start with the compost: Get hold of some good quality seed compost and sieve it well if it’s lumpy, especially if you’re planting small seeds. This isn’t the time to be using your own homemade compost – it will probably be too high in nutrients which when they dissolve, inhibit germination. Once it’s in the containers, the texture should be firm but not packed. Gently smooth the top of the compost but don’t press it down.
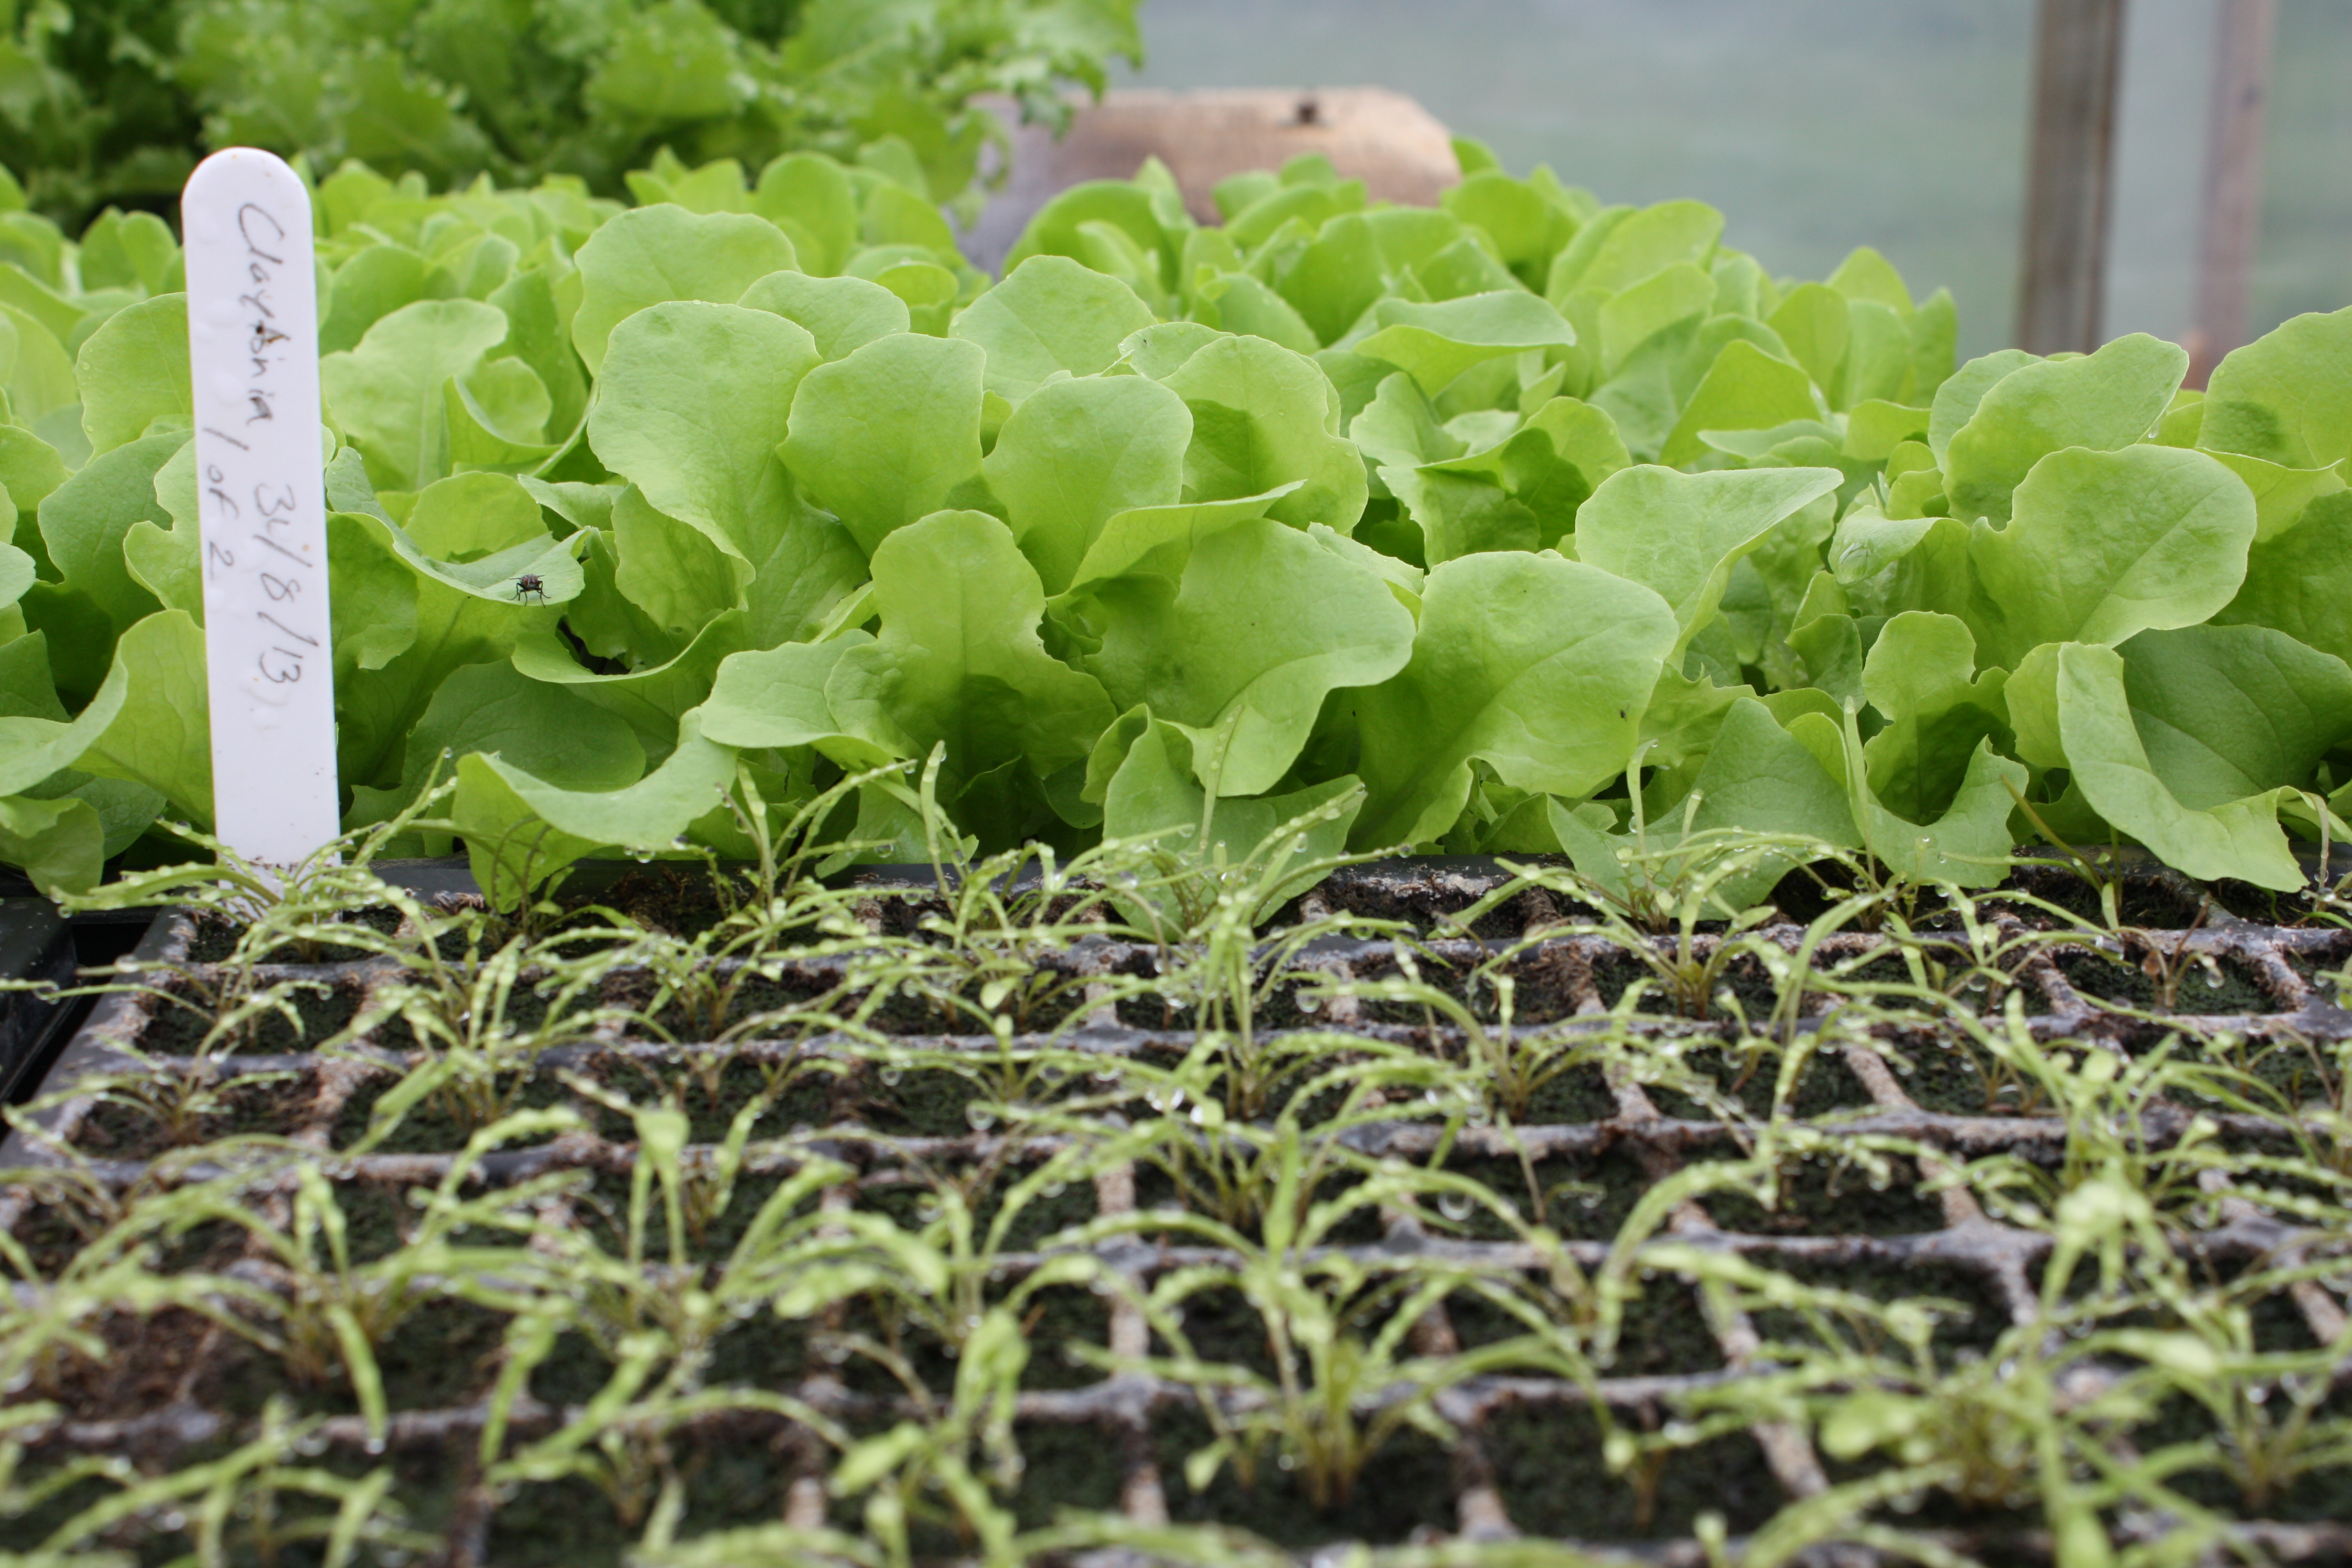
- Find appropriate containers - Module trays are great, as you can plant out delicate seedlings without disturbing the roots.
- Plants which quickly develop deep root systems will prefer bigger pots. On the other hand, seed trays work well for sowing lines of seed that will be thinned out (e.g. salads).
- Old takeaway cartons with holes punched in the bottom for drainage make excellent seed trays and you can put the lid underneath to catch any drips, or on top to keep the compost moist.
- The cardboard insides of loo rolls make a great biodegradable container which you can then plant directly into the ground later. They will add organic matter to your soil and be beneficial in the long run!
- Check the condition of your seeds - Old seed, or seed that has got damp, won’t germinate as well as fresher seed that has been stored properly. Ideally, seed should be kept in an airtight container in a dry, dark place. Even if your seed is good, always sow more seed than you want as not every seed will germinate.
- Plant the seeds at the right depth - Generally, that’s about as deep as the seed is big, so chunky beans need to be deeper than delicate carrot seeds. For very fine seed, place them on top of the compost and gently sprinkle some more compost over the top until they’re just covered. Poke small holes in the compost to drop slightly bigger seeds in and cover them with compost.
- Label your seeds - It’s important to know what’s planted where and when so that you can make sure it’s given the best conditions for germination. Some seeds need warmer soil or more water before they will sprout. You can make your own labels from lolly sticks, or write on the non-shiny kind of plastic pots with a pencil.
- Make sure they’re kept moist, but not too wet! Test the soil with your finger, making sure to wiggle it under the surface slightly to check moisture levels there. If it feels a bit dry, water gently with a fine rose until it feels just damp.
- Keep the seeds warm until they germinate - Most seeds like a temperature of between 15-20 °C to sprout. Covering the trays or pots with a sheet of glass or clear plastic will create a mini greenhouse and keep them cosy until they’ve got started. Some people also like to use heated propagators to make sure conditions are perfect, which can give good results.
- Once the tiny seedlings begin to show, give them plenty of light - When they get big enough to handle they should be planted either into bigger containers or outdoors. Always handle them by the leaves, not the stems, as they are easily bruised. A plant can survive losing a leaf but if the stem is damaged it will die.

Once your seeds have grown into seedlings, follow these tips to make sure they make it from the pot to the garden happily and healthily:
- Make sure everything is ready for planting – the pot or ground is prepared, and the seedlings should be watered so they’re not too dry. Plants don’t like to have their roots exposed for too long, so the quicker the transfer, the better.
- Gently does it! The key to handing tiny plants is to be very careful with them. Ease them out of their pots by loosening the soil with a pencil or twig, hold them by the leaf rather than the stem.
- Make a hole in the soil that’s big enough to accommodate the root system. Ease it in and lightly press the earth back around the roots making sure there’s good contact between roots and soil.
- Check that the stalk is supported - If the seedlings are particularly floppy, plant them slightly deeper so that they don’t fall over.
- Give the seedlings a good soak - This will help the roots to spread out and become established in their new environment, as well as providing them with the water they need to continue growing.
- Protect them from the wind - Seedlings are susceptible to wind damage as they have soft stems and delicate leaves. Giving them shelter in the early days is important.
- Make sure they get plenty of light - All plants need some sunshine, although the amount varies. A windowsill, porch or greenhouse is ideal for young plants - if they’re kept too dark, they will grow lanky, pale and floppy.
- Harden off delicate varieties - Putting new shoots outside in a sunny spot during the day and bringing them in overnight for the first week will ‘harden off’ the seedlings and make them better able to cope with living outdoors when the time comes.
Expert tip: Did you know, that gently stroking the seedlings with your fingers imitates the wind, fooling the plants into getting tougher!
-
Join our email community to keep learning
Register for our newsletter to learn more about living, growing and eating in sustainable ways, as well and be first to hear about opportunities for getting involved in our food and farming campaigning work.
sign up today


